


Osmo 360 II settings guide
How to Shoot 16K Timelapse With DJI Osmo 360 II: Best Settings for Clouds, Cities & Travel
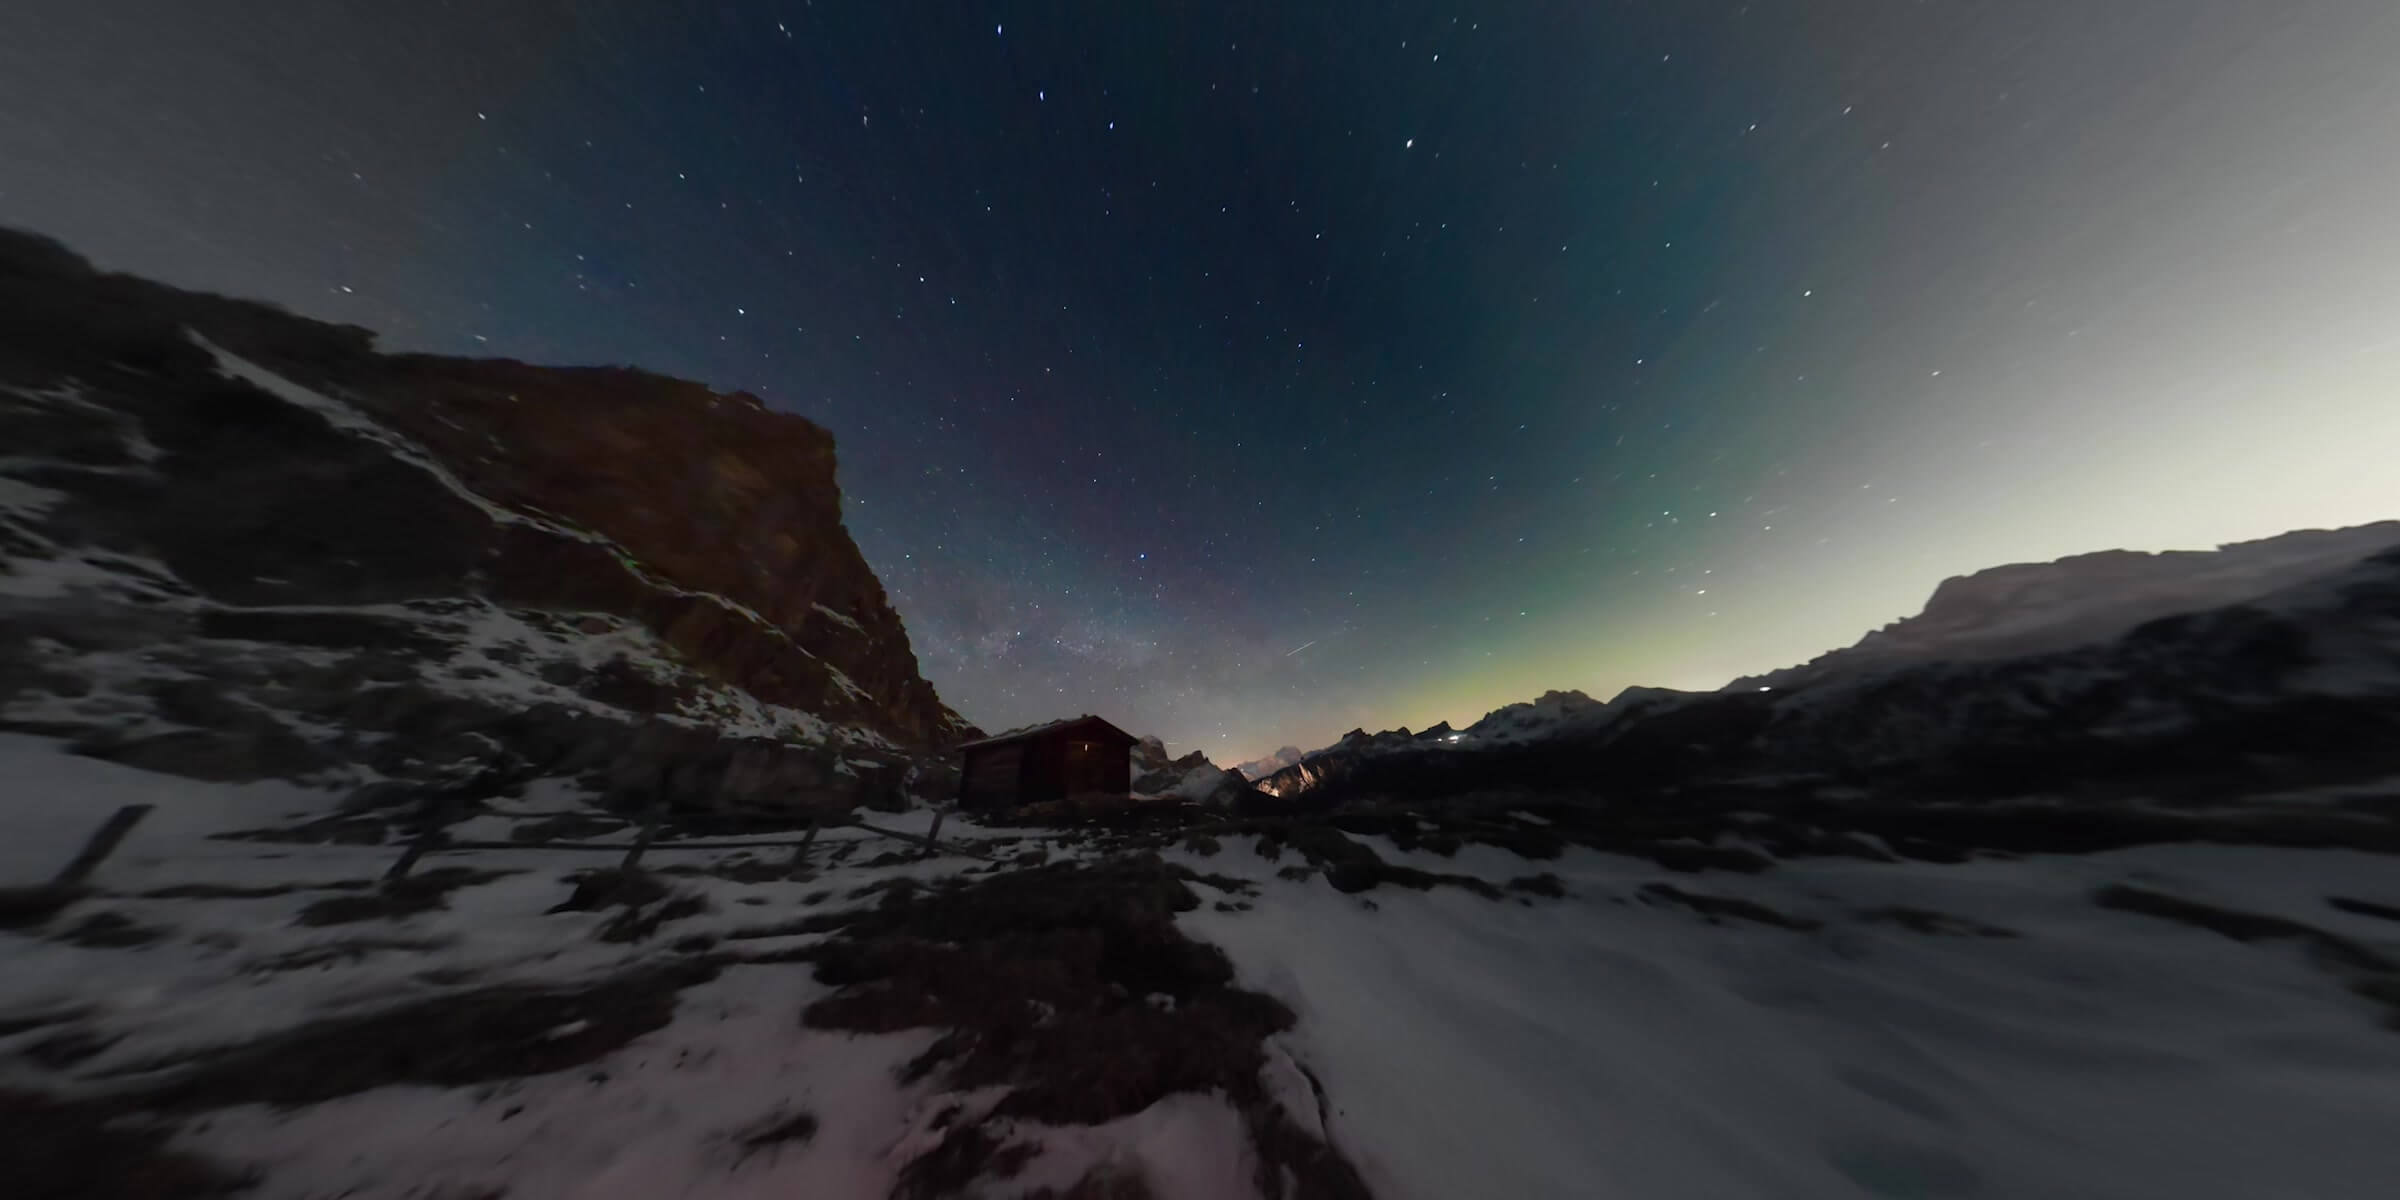
For moving clouds, start with DJI’s Clouds preset: 16K at 25 or 30 fps, 10 minutes of capture and a 2-second interval. For sunset, use DJI’s 1-hour / 3-second Sunset preset. For traffic, pedestrians and travel viewpoints, begin with the scene table below, lock the camera on a stable support and test the composition before committing to a long run. Use 8K when faster export or a lighter workflow matters more than maximum reframing room.
Fast answer
Clouds10 min · 2 sec · about 10 sec at 30 fps
Sunset1 hr · 3 sec · about 40 sec at 30 fps
Moving cameraUse 8K Hyperlapse instead
Start here
Best Osmo 360 II Timelapse Settings
The first two rows are DJI presets. The rest are SpeedyDrone starting points: adjust after a short test for subject speed, light and final length.
Swipe to see every column.
| Scene | Starting setting | Why it works | Source level |
|---|---|---|---|
| Moving clouds | Clouds: 10 min / 2 sec | Enough change for visible motion without a long setup | DJI preset |
| Sunset | Sunset: 1 hr / 3 sec | Covers the slower shift in light and sky colour | DJI preset |
| City traffic | 2–3 sec interval | Keeps vehicle movement connected instead of overly jumpy | Editorial start |
| Busy pedestrian street | 2–3 sec interval | Samples fast human movement frequently | Editorial start |
| City skyline | 3–5 sec interval | Balances clouds, traffic and changing windows | Editorial start |
| Slow landscape | 5–10 sec interval | Avoids many near-identical frames | Editorial start |
| Long travel viewpoint | 5–15 sec interval | Fits gradual weather and light changes | Editorial start |
| Starry sky | 30 sec interval | DJI Support’s stated starting recommendation | DJI support guidance |
Osmo 360 II’s complete custom interval menu is 2/3/4/5/6/8/10/15/20/25/30/40 seconds and 1/2/5/30/60 minutes. Available durations are 5/10/20/30 minutes, 1/2/3/5 hours and unlimited.
A sphere, not a ready-made 16:9 frame
What Does 16K Mean on a 360° Timelapse?
Osmo 360 II records a full spherical timelapse, then lets you choose the viewing direction later. The practical value of 16K is not that every Instagram Reel or YouTube upload becomes a 16K flat video. It is that the complete sphere starts with more image information for reframing.
A tight flat crop still uses only part of the sphere. 16K therefore gives you more room than 8K, but it cannot create detail that was hidden by distance, dirty lenses, motion blur or weak light. It also does not change the regular panoramic-video ceiling: normal 360° video tops out at native 8K/60 fps. The 16K option is specifically for 360° Timelapse.
Choose by delivery pressure
16K vs 8K Timelapse
Resolution is a workflow choice. Use 16K when the extra reframing latitude will survive your editing and delivery pipeline.
Swipe to see every column.
| Decision | 16K Timelapse | 8K Timelapse |
|---|---|---|
| Best reason to choose it | Maximum room for deep reframing, alternate angles and premium masters | Faster, lighter work for routine social or travel delivery |
| Frame rates | 25 or 30 fps | 25 or 30 fps |
| Export path | DJI Studio required; Mimo previews but does not export 16K | Check the current Mimo or Studio workflow for your intended output |
| Maximum listed bitrate | Up to 600 Mbps for 16K 360° Timelapse Video | Falls under the camera’s standard maximum-video-bitrate specification rather than the 16K exception |
| Editing load | Heavier files and more demanding desktop work | More practical when speed and device limits matter |
| Good default | Irreplaceable view, several planned crops, archival master | Fast turnaround, limited hardware, modest final resolution |
Camera-first workflow
How to Start a 16K Timelapse
Timelapse is available in 360° mode, not Single-Lens mode. Menu labels can move with firmware, so verify the current interface before a time-sensitive shoot.
Colour workflow limitation: DJI states that D‑Log M is not supported in Timelapse. Set exposure and white balance carefully in-camera; do not plan on recovering the shot with a D‑Log M grade later.
Two useful presets, with real output math
Clouds, Sunset, Cities and Canadian Travel Scenes
Frame count is approximately capture time divided by interval. Finished duration is frames divided by the selected 25 or 30 fps.
Clouds preset
DJI’s 10-minute capture with a 2-second interval makes about 300 frames.
600 sec ÷ 2 sec = 300 framesThat becomes about 10 seconds at 30 fps or 12 seconds at 25 fps. Use it for fast cumulus, a changing weather front or a skyline where cloud movement is the story. If the sky barely changes, extend the duration before reaching for a very long interval.
Sunset preset
DJI’s 1-hour capture with a 3-second interval makes about 1,200 frames.
3,600 sec ÷ 3 sec = 1,200 framesThat becomes about 40 seconds at 30 fps or 48 seconds at 25 fps. Arrive before the colour peaks, stabilize the support and watch for dew, wind and people touching the setup.
City and travel starting points
In Toronto, a 2–3 second interval can keep traffic and pedestrians energetic while the skyline remains stable. In Vancouver, 3–5 seconds is a practical starting point when cloud layers, harbour traffic and building lights all change at different speeds. For Banff or other Rocky Mountain viewpoints, begin around 5–10 seconds for slower weather and light; wind stability matters more than the resolution label. Around Niagara Falls, start around 2–3 seconds if you want the water and crowds to stay active, but keep the camera beyond spray and secure it where visitors cannot bump it.
2–3 sec for traffic; 3–5 sec for skyline and changing clouds.
3–5 sec for harbour, cloud layers and city-light transitions.
5–10 sec for gradual light, mist and mountain weather.
2–3 sec for active water and crowds; manage spray and vibration.
These Canadian scene settings are editorial starting points. Conditions, permissions, crowd flow and safe mounting vary by exact location.
Fixed camera or moving camera?
16K Timelapse vs 8K Hyperlapse
Use Timelapse when the camera remains stationary and the world moves through the frame. Use Hyperlapse when the camera itself travels—walking through a city, mounted on a vehicle, cycling or skiing. DJI’s current specification lists Hyperlapse at 8K/25 or 30 fps with Auto and ×2/×5/×10/×15/×30 speeds. It does not list a 16K Hyperlapse mode.
This distinction is more important than chasing the larger number. A fixed 16K capture from a solid lookout can produce elegant virtual pans later. A handheld 16K Timelapse while walking is likely to create erratic viewpoint changes; 8K Hyperlapse is the mode designed for motion. Follow mounting rules, local regulations and road or trail safety rather than letting the invisible-stick effect dictate placement.
Let 360 coverage do the work
Camera Placement for a Better Timelapse
Because both lenses capture around the camera, you are composing a sphere rather than protecting one front-facing frame.
Place the camera where the most interesting motion happens in several directions: cloud movement over the skyline, water behind the operator position, or pedestrian flow crossing foreground and background. Keep both lenses away from nearby walls, rails and poles that exaggerate stitching errors. A small camera movement can shift the entire sphere, so use a broad, weighted tripod or another stable support on firm ground.
Before recording, rotate through the full preview. Check whether the support, your bag, reflective glass, the sun or a bright lamp dominates one lens. Then decide which later crops you want: a wide establishing view, a gentle virtual pan and perhaps a vertical version. Planning those outputs helps justify whether 16K is worth the heavier desktop workflow.
Do not multiply 600 Mbps by the real-world wait
Storage and Power Planning
DJI lists a normal maximum video bitrate of 220 Mbps and a specific maximum of 600 Mbps for 16K 360° Timelapse Video. That does not mean a one-hour sunset timelapse consumes one hour × 600 Mbps as though the camera were continuously recording normal video at that rate. Timelapse samples frames at the selected interval and creates a much shorter result. Actual file size still depends on the generated clip and current encoding, so leave generous headroom and test your workflow before travel.
Osmo 360 II includes 128GB of built-in storage with 105GB available, and DJI says storage can be expanded by microSD card up to 1TB. Built-in storage is enough to begin, but a known-good card and an offload plan reduce pressure on long days. Our Osmo 360 II storage and microSD guide explains current capacity and card-selection details.
Power is part of composition. A one-hour sunset capture should not depend on an almost-empty battery. Start charged, avoid moving the camera mid-run and use only a power solution that is appropriate for the mount, weather and exposure to the public.
The capture is only the master
Editing and Exporting 16K Timelapse
DJI’s current product page says 16K 360° Timelapse can be exported only through DJI Studio. DJI Mimo can preview the 16K timelapse, but it does not export it. That makes a desktop workflow a requirement, not an optional upgrade, if the final 16K result is your goal.
In DJI Studio, set the horizon and choose the best initial view, then create intentional pans and zooms rather than constant movement. Export a clean master before making platform-specific crops. If your broader edit will be finished in DaVinci Resolve, first use the supported DJI workflow to create a usable 360 file, then confirm resolution, codec, colour and hardware behaviour with a short sample. Our Osmo 360 II editing guide covers mobile, desktop and Resolve planning in more depth.
Efficient delivery plan: keep the 16K 360 master, then export only the flat 16:9 and 9:16 versions you actually need. This preserves future reframing choices without forcing every downstream project to handle the heaviest source.
Small errors become long errors
Common 16K Timelapse Mistakes
A ten-second test can reveal problems that otherwise ruin an hour.
Swipe to see every column.
| Mistake | What goes wrong | Better move |
|---|---|---|
| Choosing 16K automatically | Editing becomes slower without a useful crop or archival benefit | Use 8K when delivery speed matters more than deep reframing |
| Walking in Timelapse | The viewpoint jumps instead of moving smoothly | Use 8K Hyperlapse for a moving camera |
| Leaving exposure on a poor starting point | Highlights clip or brightness flickers as the scene changes | Test exposure and white balance for the full expected light range |
| Touching the support mid-run | The entire 360 sphere shifts, making later reframing harder | Frame, level and power the setup before recording |
| Forgetting the second lens | A bag, person or bright lamp remains visible behind the planned view | Inspect the complete sphere before leaving the camera |
| Assuming Mimo exports 16K | The mobile-only workflow stops at preview | Plan to export 16K through DJI Studio |
A simple capture kit
Build a Timelapse-Ready Osmo 360 II Setup
Start with the camera, a stable 1/4-inch support, dependable power and enough storage. Confirm the exact mount and weather exposure for each location.

Camera and Mounting Base
The camera provides 16K Timelapse, 105GB of available built-in storage and a 1/4-inch threaded mounting path. Match the support, battery plan and accessories to a fixed capture rather than assuming a handheld kit solves stability.

Capacity for Longer Capture Days
A 256GB UHS-I V30 U3 card can expand the camera’s storage for longer travel days. Confirm DJI’s current compatibility list before relying on any card for a critical capture.
Dedicated Osmo 360 II battery and powered-rod routes are not added here without a verified SpeedyDrone product destination. For longer sessions, browse the Osmo 360 collection or ask SpeedyDrone Canada to confirm the exact generation and fit.
Direct answers
Osmo 360 II 16K Timelapse FAQ
Does DJI Osmo 360 II shoot 16K video?
It supports 16K 360° Timelapse at 25 or 30 fps, but regular panoramic video tops out at native 8K/60 fps. The 16K label should not be applied to ordinary continuous 360 video.
What is the best Osmo 360 II setting for moving clouds?
Start with DJI’s Clouds preset: 10 minutes of capture and a 2-second interval at 16K/25 or 30 fps. It produces about 300 frames, or about 10 seconds at 30 fps and 12 seconds at 25 fps.
What is the best setting for a sunset timelapse?
DJI’s Sunset preset uses a 1-hour capture and a 3-second interval. That is about 1,200 frames, producing roughly 40 seconds at 30 fps or 48 seconds at 25 fps.
Should I use 16K or 8K Timelapse?
Use 16K when maximum reframing latitude, several future crops or an archival master justify a heavier DJI Studio workflow. Use 8K when faster export, smaller files and modest final output resolution matter more.
What is the difference between Timelapse and Hyperlapse?
Timelapse is intended for a fixed, stationary camera while the scene changes. Hyperlapse is for a moving camera, including vehicle-mounted, skiing and cycling scenarios. Osmo 360 II Hyperlapse is listed at 8K/25 or 30 fps, not 16K.
Can DJI Mimo export 16K Timelapse?
No. DJI says Mimo can preview 16K 360° Timelapse but cannot export it. Use DJI Studio for the 16K export and test the desktop workflow before a critical project.
Does D-Log M work in Timelapse?
No. DJI states that D‑Log M is not supported in Timelapse. Set exposure and white balance carefully in-camera rather than planning on a D‑Log M grade.
Can I shoot Timelapse in Single-Lens mode?
No. DJI Support says Timelapse is available in 360° mode but not in Single-Lens mode. Switch to 360° mode before looking for the Timelapse menu.
Do I need a microSD card for 16K Timelapse?
Not necessarily to begin: Osmo 360 II has 128GB built-in storage with 105GB available. DJI also supports microSD expansion up to 1TB. For longer travel days, use a currently recommended card and keep enough headroom for the generated clips.
What interval should I use for stars?
DJI Support recommends starting with a 30-second interval in Custom Timelapse. Test exposure, focus, sky movement and local conditions before committing to a long overnight sequence.
Sources and Verification Notes
Timelapse and Hyperlapse resolutions, frame rates, presets, custom intervals, durations, maximum bitrate and built-in storage were checked against DJI’s current Osmo 360 II technical materials. DJI’s launch announcement was used for the 16K feature description; the current product page was used for storage, mounting and the D‑Log M restriction. Fixed-versus-moving mode guidance, Single-Lens availability and the 30-second star interval were checked against DJI Support.
DJI Osmo 360 II current product details
DJI Timelapse and Hyperlapse support guidance
DJI Osmo 360 II launch announcement
City, landscape and travel intervals are SpeedyDrone editorial starting points based on scene speed and output planning; they are not DJI presets or independent test results. Firmware, software, storage behaviour and product status can change. Verify the current camera interface, DJI Studio export and relevant location rules before a critical shoot.
Start With the Scene, Then Choose 16K
Use the Clouds or Sunset preset when it fits. Use Custom for cities and travel. Choose 16K when its reframing room earns the heavier DJI Studio workflow—and stabilize the camera before everything else.


