


Osmo 360 II creator workflow
DJI Osmo 360 II Travel Guide: How to Shoot for Reels, Shorts & YouTube With One Camera
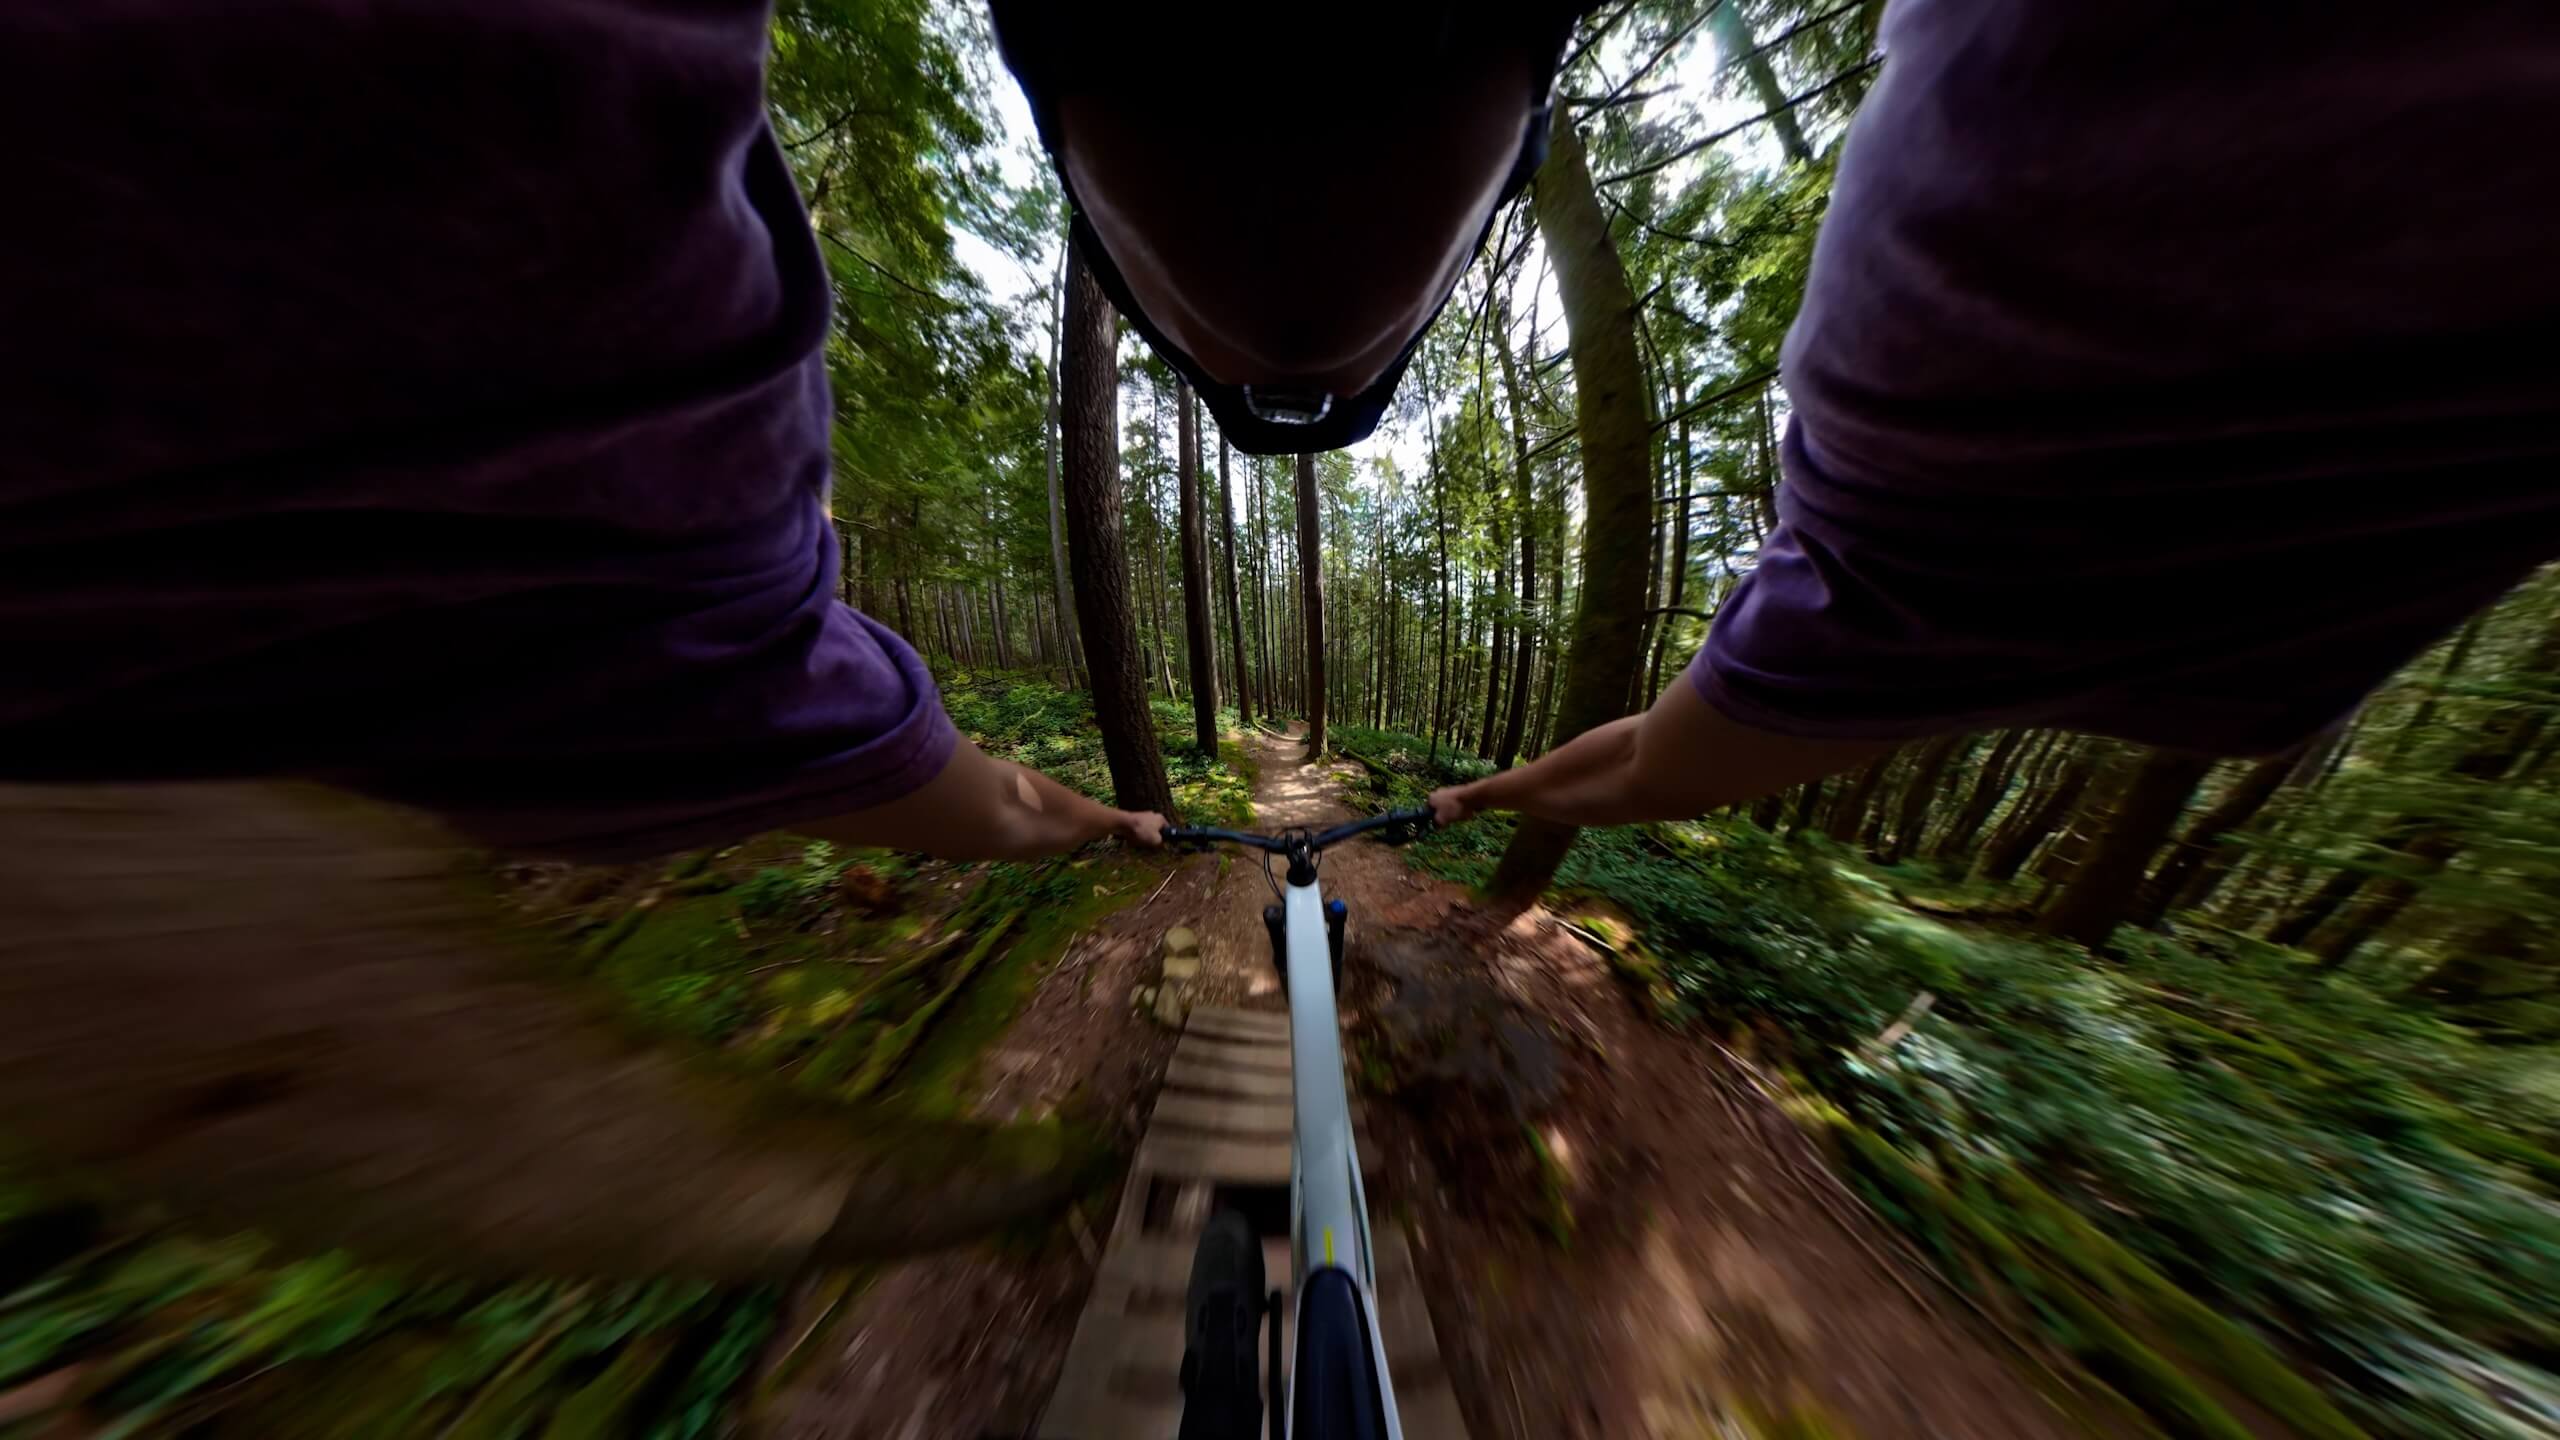
The best Osmo 360 II travel workflow is not “shoot everything in 360.” Record important, unpredictable moments in 360° so you can create both vertical and horizontal versions later. Use Single-Lens or Single-Lens Boost when the subject and final frame are already known. That division reduces repeated takes without turning the trip into a backlog of footage that all needs reframing.
Choose before the moment
Quick Answer: The Best Osmo 360 II Travel Workflow
Match the capture mode to the job of the shot. A travel film benefits from changing modes during the day.
Swipe to see every column.
| Deliverable or scene | Start with | Why | Trade-off |
|---|---|---|---|
| Instagram Reel | 360° → 9:16 for flexible scenes; Boost 9:16 for speed | Choose between a reframed story and a native vertical clip. | 360° takes more post; native vertical commits the composition. |
| YouTube Short | 360° → 9:16 or Boost 9:16 | The same two routes work; choose by editing time, not the platform name. | A tighter reframe asks more of the panoramic source. |
| YouTube long-form | Mixed 360° and Single-Lens 16:9 | 360° protects key moments; flat clips keep the edit familiar. | An all-360 timeline can become repetitive and slow to finish. |
| Landmark or viewpoint | 360° | Preserve the traveller, surroundings and reactions before choosing the frame. | Keep both lenses clean and allow stitching distance. |
| Walking vlog | Single-Lens | A known face-to-camera composition usually needs less post. | Use 360° instead if the surroundings or companions may become important. |
| Invisible selfie-stick shot | 360° | Stitching creates the floating third-person perspective. | Mount alignment and nearby subjects can affect the seam. |
| POV or hotel update | Single-Lens | The important direction is already obvious. | You cannot recover the view behind the camera later. |
| Unrepeatable action | 360° | Capture every direction when skiing, cycling, riding or moving through a crowd. | Budget more storage and editing time. |
The purchase reason
Why a 360 Camera Makes Sense for Travel Creators
Travel is full of moments that cannot be restaged cleanly: a ferry pulling away, a ski run, a friend entering the frame, a first reaction at a viewpoint. A conventional camera asks you to decide the direction and aspect ratio during capture. A 360 camera can preserve the scene around the camera, then let you point a virtual camera later.
That is especially useful when one trip must supply several channels. Instead of recording the same arrival three times, a well-positioned panoramic master may support a vertical, person-led cut for Reels, another 9:16 angle for Shorts and a wider 16:9 view for YouTube. That qualifier matters: each edit still needs a subject, an intentional frame and enough source detail.
The advantage is delayed composition, not automatic content. Osmo 360 II can reduce repeated shooting when a 360° master is appropriate. It does not make every clip equally strong in every aspect ratio, and a Single-Lens 9:16 recording is not a flexible horizontal master.
A two-mode field rule
360° vs Single-Lens: What Should You Shoot While Travelling?
The decision is simpler when you ask whether the frame is predictable, not which mode sounds more advanced.
Protect the moment
Use 360° when the direction may change
Prioritize it for arrivals, viewpoints, group activity, invisible-stick walks, transport sequences and action where the best view could be beside or behind the camera.
- One take may need several angles.
- The camera cannot be monitored closely.
- The scene matters as much as the speaker.
- The moment would be difficult to repeat.
Finish faster
Use Single-Lens when the frame is known
Choose it for talking updates, food details, room tours, forward POV and deliberate B-roll. You aim during capture and receive a conventional flat file.
- The subject stays in one direction.
- You need a quick handoff or same-day post.
- The shot is part of a normal 16:9 sequence.
- No panoramic camera move is planned.
For deeper mode and stitching guidance, read Single-Lens vs 360° Mode: When Should You Use Each?
Fast or flexible
Best Setup for Instagram Reels
A Reel needs a vertical frame, but it does not require one universal capture mode.
Fast route
Use Single-Lens Boost at 4K 9:16 when the subject and composition are already decided. This avoids the panoramic reframing step and suits a same-day update.
Flexible route
Record 360° for scenic walks, group moments or changing action. Set a 9:16 canvas in DJI Mimo or DJI Studio and follow the best part of the scene afterward.
Best travel habit
Protect the irreplaceable moment with a short 360° master. Use Boost 9:16 for the direct-to-camera clip you already know you want to publish.
The same canvas, a separate edit
Best Setup for YouTube Shorts
Use the same fast-versus-flexible decision as Reels. Boost 9:16 is efficient for a direct-to-camera Short, a known POV or a vertical activity clip. A 360° source is stronger when the hook depends on a reveal, a moving subject or a change of viewing direction.
DJI currently lists Boost 4K 9:16 at frame rates up to 120fps. Select a high frame rate only when you intend to slow the action and the available light can support it; it is not a default quality upgrade. A Short can also use a different angle from the same 360° master as the Reel, which helps the two posts feel designed rather than duplicated.
Build a normal film with flexible moments
Best Workflow for YouTube Travel Videos
Build a mixed timeline: use 360° for establishing, hero and action shots, then Single-Lens 16:9 for narration, fixed POV and detail coverage. A known frame generally makes talking segments easier to review and keeps the finished video visually grounded.
Reserve virtual-camera moves for moments that benefit from them. A wider reveal at the destination, a third-person walk or a changing action angle can add scale; constant spins, tiny planets and aggressive reframing can make the camera technique compete with the trip. The goal is a travel film made with a 360 camera, not a 360-camera demonstration reel.
The 8K misunderstanding
How to Turn One 360° Clip Into Vertical and Horizontal Videos
Start by recording a panoramic master with enough distance around the important subject. In DJI Mimo or DJI Studio, duplicate the creative decision—not necessarily the physical source file—then set the first project to 9:16 and the second to 16:9. Choose a direction, field of view and camera movement for each version rather than stretching one finished export into another shape.
DJI’s current portrait-mode support page confirms that Osmo 360 II panoramic footage can change aspect ratio in Mimo and DJI Studio. That makes a Toronto waterfront walk, for example, suitable for a tight vertical follow shot and a wider horizontal skyline composition from the same recording. It does not mean the horizontal and vertical edits should use identical pacing.
8K 360 is not an 8K flat crop. The 7680×3840 source covers the full sphere. A flat Reel, Short or YouTube view uses one portion of that sphere, so tighter crops have fewer source pixels available than the complete panoramic frame. Higher source resolution provides reframing room; it does not turn every extracted angle into an 8K flat video.
For the resolution decision, compare Osmo 360 II 8K60 vs 6K60 vs 4K modes.
The fast vertical path
When Should You Use Single-Lens Boost 9:16?
Use Boost 9:16 when the trip calls for a finished vertical composition more than a flexible master. A quick street update, a known walking POV, a direct-to-camera recommendation or a short activity clip can go from capture to edit with one less decision.
The trade-off is commitment. The camera records the vertical view you selected, so it is not the best source for a wide YouTube scene later. If a location matters enough to preserve for several formats, record a short 360° master first, then switch to Boost 9:16 for the fast social take. That is a controlled extra shot, not a requirement to film every scene three times.
Solo travel shortcut
How Spotlight Follow Simplifies Solo Travel Videos
Spotlight Follow is useful when you want the camera to keep a traveller centred even as the camera rotates. DJI says the mode can reduce manual reframing and export a flat video at up to 4K/30fps. That ceiling is important: Spotlight Follow is a speed-oriented tracking path, not the route for every high-frame-rate or hand-designed camera move.
Use it for walking, sightseeing, running, cycling or a simple solo sequence where the person is clearly the subject. Choose manual reframing when you want to reveal the scenery, switch attention between people or choreograph a more complex virtual camera move.
Read the dedicated Osmo 360 II Spotlight Follow guide for the limits and workflow.
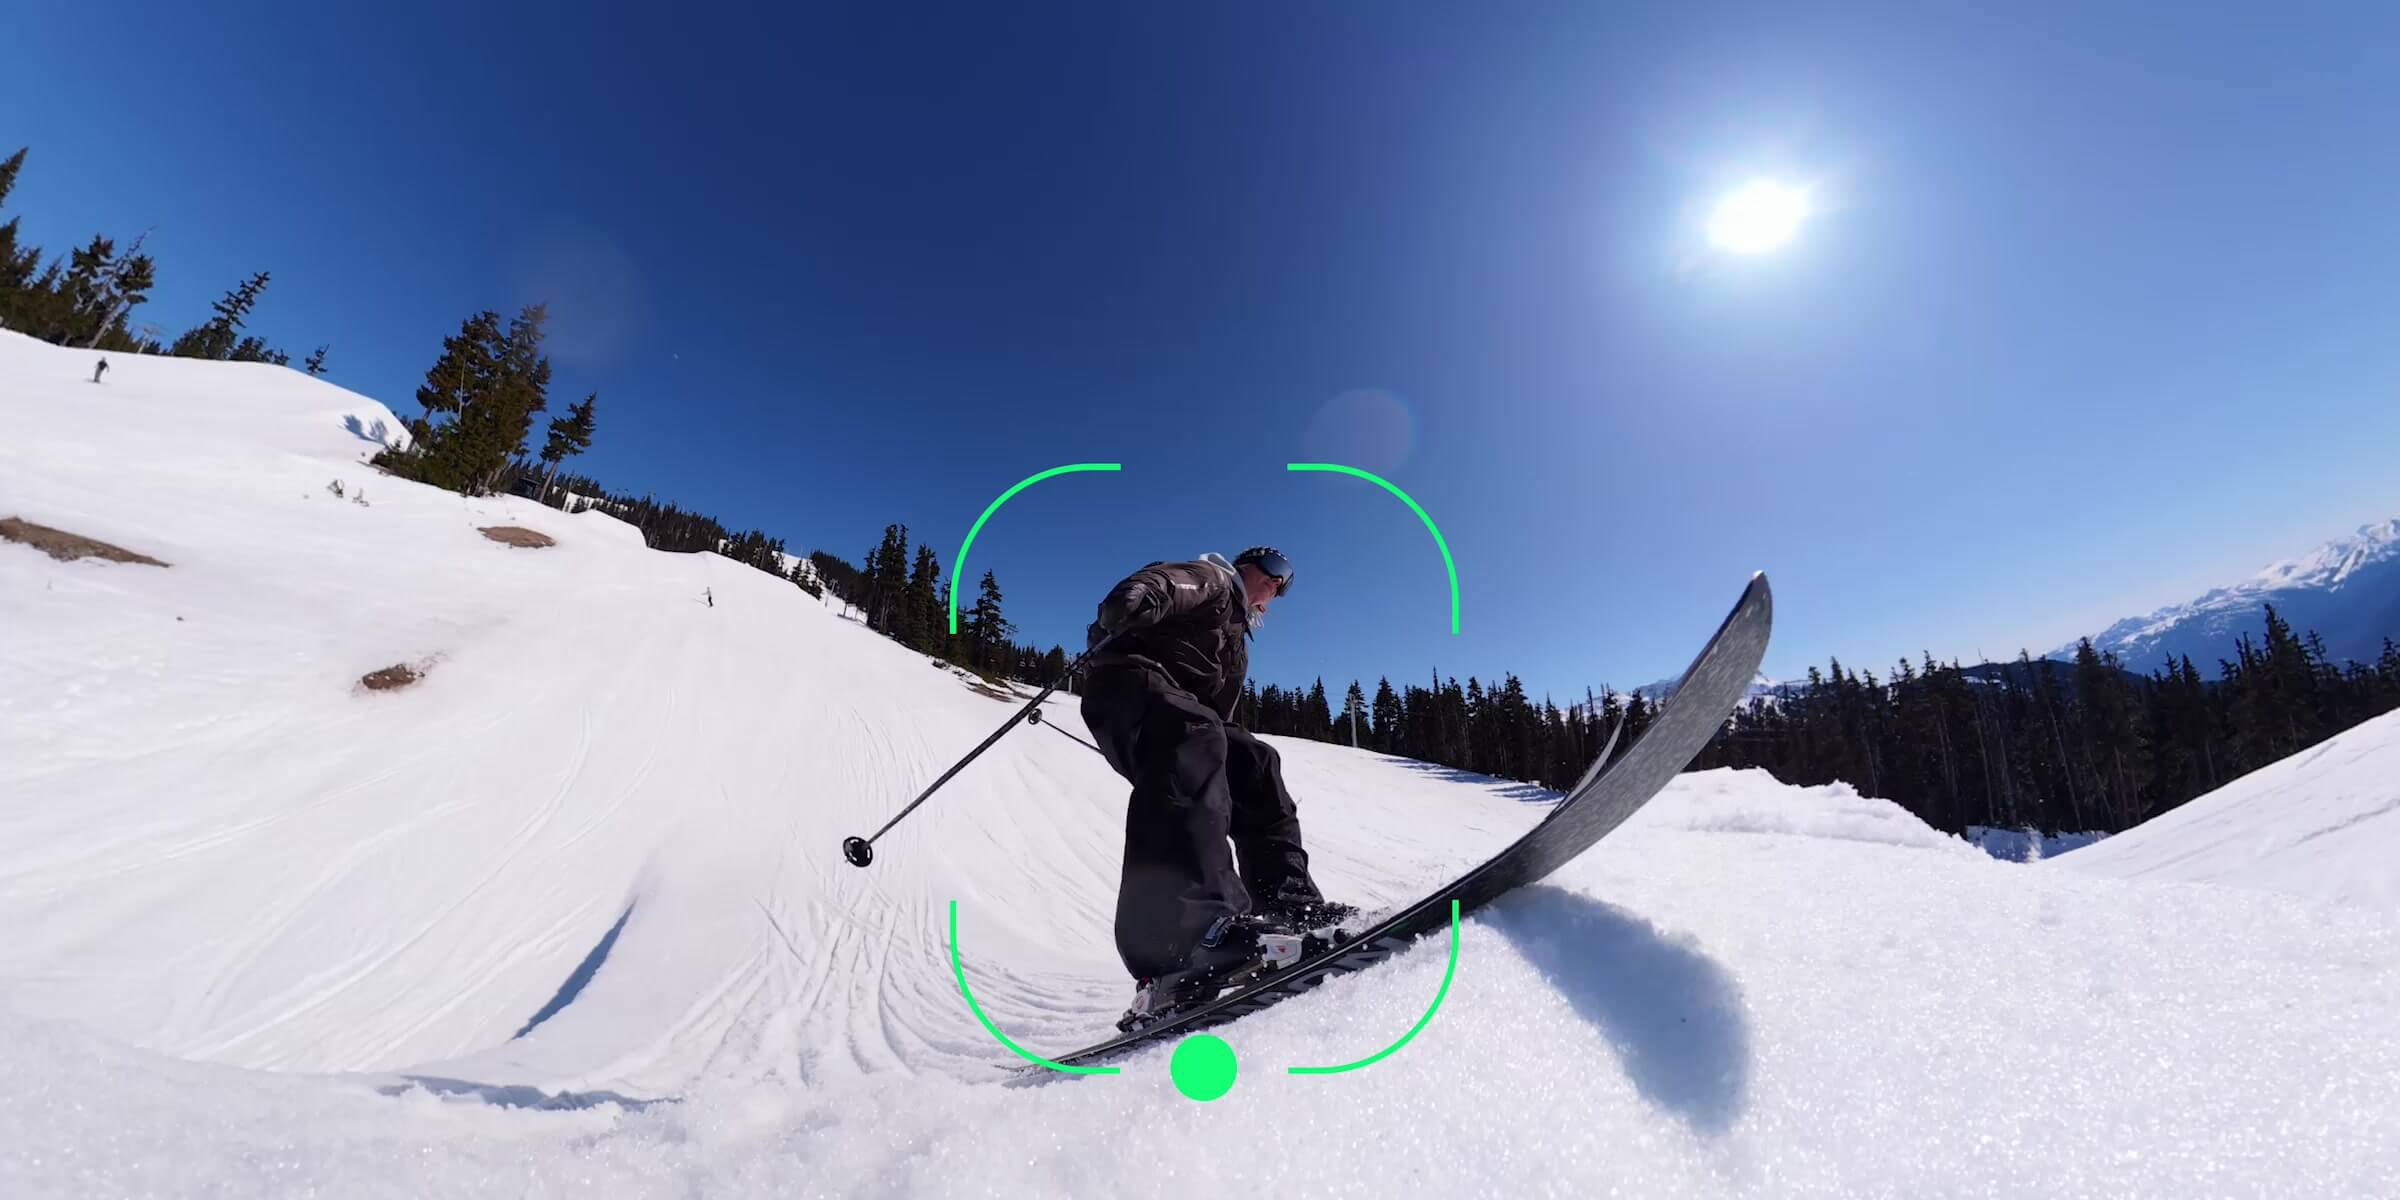
Bring home an edit, not a hard drive
Best Shots to Capture on Every Trip
A short, repeatable shot list makes the mixed-mode approach easier than deciding from scratch at every stop.
A saveable field plan
A Simple One-Day Travel Shooting Plan
The plan works for a Toronto weekend, a Vancouver waterfront day or a Banff itinerary without pretending every destination needs the same settings.
Swipe to see every column.
| Moment | Capture | Mode | Likely use |
|---|---|---|---|
| Arrival | Environment, movement into the space | 360° | YouTube opener plus vertical location reveal |
| Morning walk | Short spoken plan | Single-Lens | Long-form narration or same-day update |
| Landmark | Hero walk or group moment | 360° | Reel, Short and wide YouTube scene |
| Activity | Action plus reactions | 360° | Dynamic multi-angle sequence |
| Food or interior | Details and a short comment | Single-Lens | Fast B-roll and narration |
| Quick social post | Known vertical message | Boost 9:16 | Reel or Short with minimal reframing |
| Sunset | Scenic master and quiet detail | 360° + Single-Lens | Wide ending, vertical crop and edit transition |
| Night recap | Face-to-camera closing | Single-Lens | YouTube structure and travel diary context |
From memory card to platforms
How to Edit for Reels, Shorts and YouTube
For a fast mobile post, connect through DJI Mimo, choose the subject, set a 9:16 frame, trim and export. For a larger batch or more deliberate reframing, use DJI Studio on desktop. For a complete long-form production, prepare the 360 footage in DJI Studio and move the selected material into the broader edit; DJI also describes a Reframe plug-in route for DaVinci Resolve.
Organize by story before software: arrival, activity, details, people and closing. Select a small number of panoramic masters that earn the reframing work. Flat Single-Lens clips can move straight into the normal edit.
See the full DJI Osmo 360 II Editing Guide for Mimo, Studio and DaVinci Resolve workflow choices.
Pack for the actual day
How Much Storage and Battery Do You Need for Travel?
Osmo 360 II has 128GB of built-in storage with 105GB available, plus microSD expansion up to 1TB in DJI’s current specifications. Treat that internal capacity as breathing room, not permission to record the whole day. High-resolution panoramic footage grows quickly and also creates more material to review.
Battery needs depend on resolution, screen use, wireless connections, temperature and how often the camera sits ready between clips. For a multi-stop day, carry a verified power plan and charge during natural breaks. Avoid using a laboratory runtime figure as a promise for a cold Banff morning or a hot city walk.
Plan capacity with the Osmo 360 II Storage and microSD Guide, and plan power with the Osmo 360 II Battery Guide.
Protect the trip and the edit
Common Travel Shooting Mistakes
Most failures come from applying one mode or one maximum setting to every scene.

Build Around the Travel Workflow
The Standard Combo is the camera starting point for the workflow in this guide: 8K60 and 6K60 panoramic recording, conventional Single-Lens video and Boost 9:16 for direct vertical capture. Its 105GB of available built-in storage provides useful reserve space, while the replaceable-lens design addresses a practical concern for a camera with two exposed fisheye lenses.
Choose it when delayed composition and multi-format delivery solve real travel shoots—not because every scene should become a 360 effect.

Pack It for Reframed Third-Person Views
DJI positions an Invisible Selfie Stick as the on-the-go camera-crew approach for Osmo 360 II vlogging. SpeedyDrone carries this exact 1 m carbon-fibre model. Align it correctly for stitching, clean away sand or salt after travel and confirm the current compatibility note for your camera generation before ordering.
Frequently asked
Osmo 360 II Travel FAQ
Short answers for packing, capturing and publishing with one camera.
Can I use one Osmo 360 II video for Reels and YouTube?
Yes, when the source is recorded in 360° and both aspect ratios have useful compositions. Reframe one version for 9:16 Reels and another for 16:9 YouTube. Each edit needs its own framing, timing and export; a native Single-Lens 9:16 clip is not the same flexible master.
Can Osmo 360 II shoot vertical video?
Yes. Panoramic footage can be reframed vertically in DJI Mimo or DJI Studio, and Single-Lens Boost offers native 2.7K and 4K 9:16 capture. Choose panoramic for flexibility or Boost 9:16 for a faster, committed vertical workflow.
Should I shoot travel videos in 360° or Single-Lens?
Use 360° for important, unpredictable or multi-angle moments. Use Single-Lens when the subject direction is known and a simpler flat-video edit matters more. A strong travel day normally uses both.
Is Osmo 360 II good for solo travel?
It can be especially useful for solo creators because 360° capture and an appropriately aligned invisible selfie stick can create a third-person view without another camera operator. Spotlight Follow can also reduce manual tracking work for person-led clips.
Can one 360 recording become 9:16 and 16:9?
Yes. DJI Mimo and DJI Studio let you change the aspect ratio while editing panoramic footage. The two outputs show different windows into the sphere, so compose each separately and avoid assuming every source angle will work equally well in both shapes.
Should I shoot everything in 8K while travelling?
No. 8K60 gives the most panoramic reframing room, but it also increases storage and editing pressure. 6K60 can be a more efficient everyday 360 choice, while Single-Lens or Boost is better when the final flat frame is already known.
Do I need DJI Mimo?
Not for every workflow, but Mimo is the practical mobile route for connecting, reframing and sharing. DJI Studio provides a desktop path, and DJI describes a Studio-to-DaVinci Resolve plug-in workflow for broader post-production.
Is Osmo 360 II good for YouTube vlogging?
It can cover both conventional and panoramic parts of a YouTube vlog. Use Single-Lens 16:9 for talking segments and predictable POV, then use 360° for establishing shots, solo third-person views and action that benefits from reframing.
What mode should I use for YouTube Shorts?
Use Single-Lens Boost 9:16 for a fast vertical clip with a known composition. Use 360° when the subject direction may change or when the same moment may also need a different angle or a horizontal YouTube version.
Is an Invisible Selfie Stick worth taking?
It is valuable when solo third-person shots, group walks or moving 360° scenes are central to the trip. It is less important for fixed Single-Lens vlogging. Check current compatibility, pack it securely and keep grit or salt away before collapsing it.
Sources and Verification Notes
Panoramic and Single-Lens resolutions, 4K 9:16 Boost settings, storage capacity, stitching distance and stabilization limits were checked against DJI’s current Osmo 360 II materials on September 11, 2026. Portrait-output behaviour, Spotlight Follow, lens design, travel use cases and editing workflow were checked against DJI’s official support and product materials.
DJI Osmo 360 II Specifications
DJI portrait-mode support article
DJI Osmo 360 II current product details and FAQ
Travel plans, shot lists, platform recommendations and mode-selection advice are SpeedyDrone editorial analysis, not claims of first-hand testing at the example locations. Results depend on subject placement, lighting, crop, software and export settings. Firmware and software behaviour can change; confirm the current camera and app menus before a critical trip.
Build the travel workflow
Capture the Moment Once When 360° Earns It
Start with the DJI Osmo 360 II Standard Combo, then match storage, power, mounts and lens protection to the trip you actually plan to make.


