


Camera to TX. RX to monitor.
A working SDR Transmission 2 link needs two powered transceivers, supported video at the camera output, the right cables and a display that accepts the receiver's format. Start with one unit in TX mode at the camera and one in RX mode at the viewing position.
Quick answer
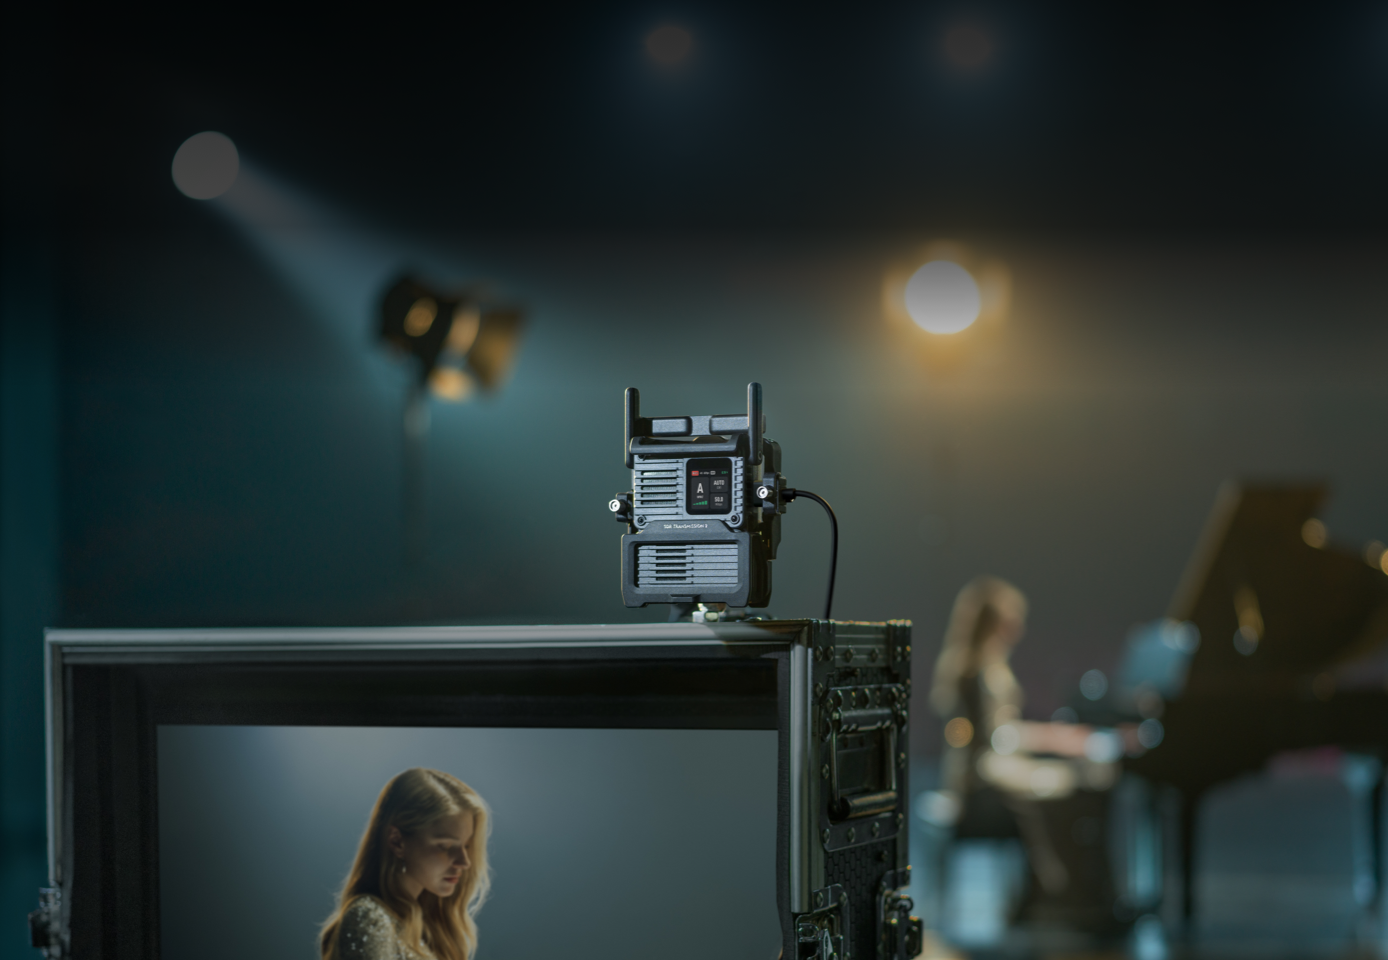
For a basic camera-to-monitor setup, connect the camera's supported HDMI or DP output to a TX, establish the wireless connection to a second unit in RX mode, and connect that RX to a monitor through HDMI or DP. Activate both units in the DJI Ronin app first. Leave Auto Channel enabled for the initial test. A single C$479 transceiver cannot complete both ends; the C$849 Combo supplies the two transceivers, but not NP-F batteries, a monitor or every video cable.
Build the simplest path before adding gimbals, phones or SDI
The fastest way to diagnose a new system is to start with the shortest possible path. Use one known-good camera output, two transceivers, one display and one cable on each side. Do not add a gimbal-control cable, Expansion Plate, splitter or multiple monitors until the basic feed works. Every additional connection creates another place for a power, port or format mismatch.
DJI calls the connection pairing-free because the same hardware can become either end and the workflow avoids separate dedicated transmitter and receiver models. That phrase does not mean there are no setup screens. The official manual still instructs the RX to search for nearby TX units, select the correct device and enter a password when Password Lock is enabled.
What to prepare before powering on
- A camera with a supported HDMI or DP output.
- Two SDR Transmission 2 transceivers for one complete link.
- A monitor with a compatible HDMI or DP input.
- One suitable video cable for each wired side.
- A power source for both the TX and RX.
- A phone with the DJI Ronin app for activation and firmware.
Two easy-to-miss exclusions: the NP-F Battery Adapter included with each transceiver is not an NP-F battery. The included USB-C Firmware Update Cable is not the separately sold L-shaped USB-C DP video cable. Inventory those items before the shoot rather than discovering the difference during setup.
Activate first, then set one unit to TX and the other to RX
Each transceiver must be activated in the DJI Ronin app before use. Power the unit, follow its touchscreen instructions, connect the phone to the transceiver's USB/DP port with a data cable and keep the phone online while the app activates the device and checks firmware. Do not disconnect power during an update.
- Move the camera-side switch to TX. On the TX home screen, tap the device information and assign a recognizable device number. Enable Password Lock only when the production needs it.
- Move the monitor-side switch to RX. Tap Search Devices. The RX scans for nearby transmitters.
- Select the intended TX. If the transmitter is password protected, enter that password on the RX.
- Confirm the link status. The RX home screen should identify the connected TX and show signal quality. This confirms the radio connection, but video still depends on the wired source and output formats.
A single transmitter can feed up to eight receivers. Give transmitters clear device numbers when more than one camera is operating nearby; “A-Cam,” “B-Cam” and “Gimbal” are more useful on set than identical default names.

Connect the camera to the TX through HDMI or DP
The common path is camera HDMI OUT to the transmitter's HDMI input. For a supported DP source, use the TX USB/DP port and the appropriate video cable; DJI recommends its L-shaped USB-C Video Cable for DP and sells that cable separately. Do not connect a DP source to the power-only USB-C port and expect video.
On the TX, HDMI and DP are video inputs. Only one input is used at a time. If the camera outputs HDR, enable the corresponding HDR setting so the transmitter can recognize the signal. For DCI 4K/60 HDR, DJI specifically requires the main transceiver's HDMI or DP connection. The Expansion Plate's SDI and HDMI ports do not create a 4K SDI path.
| Source format | Supported frame rates | Setup note |
|---|---|---|
| DCI 4K | 23.98 / 24 / 25 / 29.97 / 30 / 50 / 59.94 / 60 fps | Use the main-unit HDMI or DP path for 4K. |
| UHD 4K | 23.98 / 24 / 25 / 29.97 / 30 / 50 / 59.94 / 60 fps | Verify that the monitor accepts the selected output. |
| 1080p | 23.98 / 24 / 25 / 29.97 / 30 / 50 / 59.94 / 60 fps | A useful fallback format for troubleshooting. |
| 1080i | 50 / 59.94 / 60 fps | Main transceiver supports input only; Expansion Plate supports input/output. |
| 720p | 50 / 59.94 / 60 fps | Confirm the display supports the same output. |
If the TX reports No Signal, the camera's output resolution and frame rate are the first settings to inspect. DJI's support sequence then checks the cable connection and tries another cable. Starting with 1080p60 can help isolate the chain before moving back to a 4K format.
Connect the RX to one monitor before expanding the output
For a conventional display, connect RX HDMI OUT to the monitor's HDMI IN. A compatible display can instead use DP through the RX USB/DP port. With the transceiver alone, HDMI and DP cannot output at the same time, so select one path and make the monitor match the receiver's output format.
A connected radio link is not the same as a valid video feed. On the RX, look for the incoming resolution, frame rate and bitrate. If those values are present, the wireless side is carrying video and the next checks are the monitor input, accepted format and output cable. If those values are missing, work backward to the TX video-status icon, camera output and camera-side cable.
First-picture test: camera at 1080p60 → HDMI → TX → RX → HDMI → monitor. Once this path is stable, restore the required 4K or HDR format, add gimbal communication, connect the Ronin app, or install the Expansion Plate one change at a time.
Choose independent batteries, USB-C PD or gimbal power
Both ends need stable power. A weak supply can look like a video or wireless fault, particularly when the transceiver starts, the fan changes speed or a connected mobile device draws power. DJI says a blinking red status light indicates low voltage and recommends a compatible PD adapter rated at 65 W or higher, or a fully charged battery.
NP-F battery
Use a compatible NP-F-series battery with the supplied adapter for a self-contained camera or monitor position. Runtime varies by battery capacity. The adapter is included; the battery is not.
USB-C PD
Use the dedicated USB-C power port and a compatible 65 W-or-higher PD adapter. That port provides power only; it is not the DP, phone or gimbal communication port.
Ronin power
A compatible Ronin stabilizer can power the camera-side TX and establish communication when the correct cable and port are used. RS 5 and RS 4 Pro-class gimbals do not use the same cable.
Leave Auto Channel 2.0 on for the first setup
Auto Channel mode is enabled by default. The transceivers evaluate the local radio environment, recommend and switch to a suitable channel, and coordinate frequencies when several SDR Transmission 2 groups operate nearby. For one camera and one monitoring position, Auto is the correct starting point. A new owner should not choose a manual channel simply because manual looks more professional.
Open the Channel Dashboard to see current frequency, channel quality, other TX units using a channel, conflict warnings and a recommendation. Green indicates good quality; red indicates poor quality. Manual mode is useful when a venue has an established frequency plan, the dashboard identifies an occupied channel, or a technician has a documented reason to hold a specific frequency.
| Shooting condition | Recommended starting mode | Why |
|---|---|---|
| One SDR 2 system | Auto | Fastest baseline and continuous adaptation. |
| Two or three nearby systems | Auto Channel 2.0 | Groups can identify one another and coordinate frequencies. |
| Known venue interference | Review dashboard first | Use actual quality and occupancy information before changing. |
| Planned production spectrum | Manual | Lets the RF lead hold a selected channel. |
| Conflict warning | Auto or a clean manual channel | Avoid an occupied poor-quality channel. |

Expand only after the first link is stable
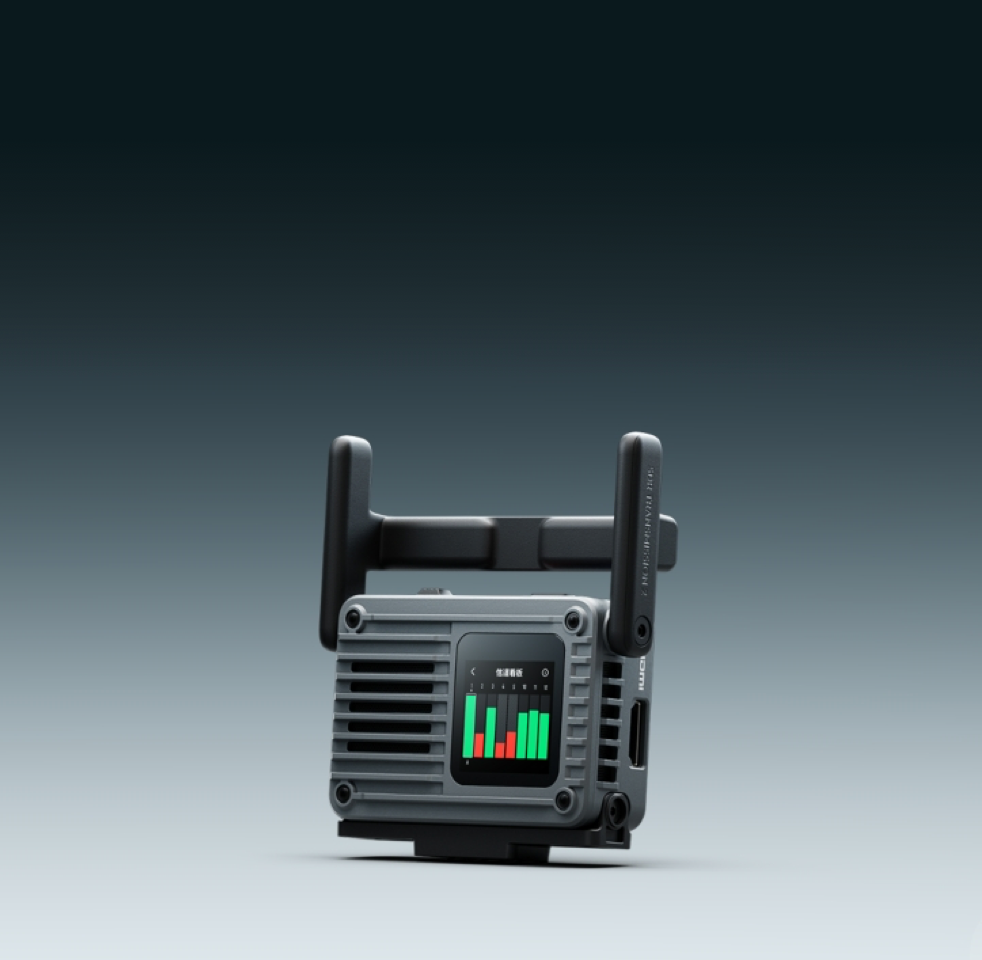
One TX can serve up to eight RX units with control, so a director, focus puller and client can each receive the same camera feed. Each added viewing position needs another SDR Transmission 2 transceiver in RX mode, a compatible display or mobile device, its own cable and a power plan. Buying a single additional transceiver makes sense only when the rest of the system already exists.
DJI says as many as five transmitters and 40 receivers can operate simultaneously under suitable conditions and recommends no more than five transmitters in the same area for the optimal experience. Name each TX clearly, leave Auto Channel 2.0 enabled first and keep at least 30 cm between a TX and an RX that belong to different groups. Large multi-camera systems still require on-site RF planning; the maximum topology is not a promise that every venue will be interference-free.
RS 5 uses the included cable; RS 4 Pro needs USB-C to CAN
Both workflows let a compatible gimbal power the TX and establish communication, but the required cable is different. This is one of the most common places to build a rig that physically fits yet does not power or control correctly.
DJI RS 5
Connect the TX USB/DP port to the RS 5 Multifunctional port with the included USB-C to USB-C Firmware Update Cable. Mount the TX on the gimbal cold shoe. No USB-C-to-CAN cable is required for this RS 5 connection.
If an Expansion Plate is fitted, DJI also allows the gimbal connection through the plate's right-side USB-C port.
RS 4 Pro, RS 4 and RS 3 Pro
Purchase the DJI SDR Transmission 2 Gimbal Control Cable (USB-C to CAN) separately. Connect its labelled end to the TX and the other end to the compatible gimbal port shown in DJI's connection guide. Do not reverse the cable.
With the Expansion Plate, DJI allows this connection through a bottom USB-C port on the plate.
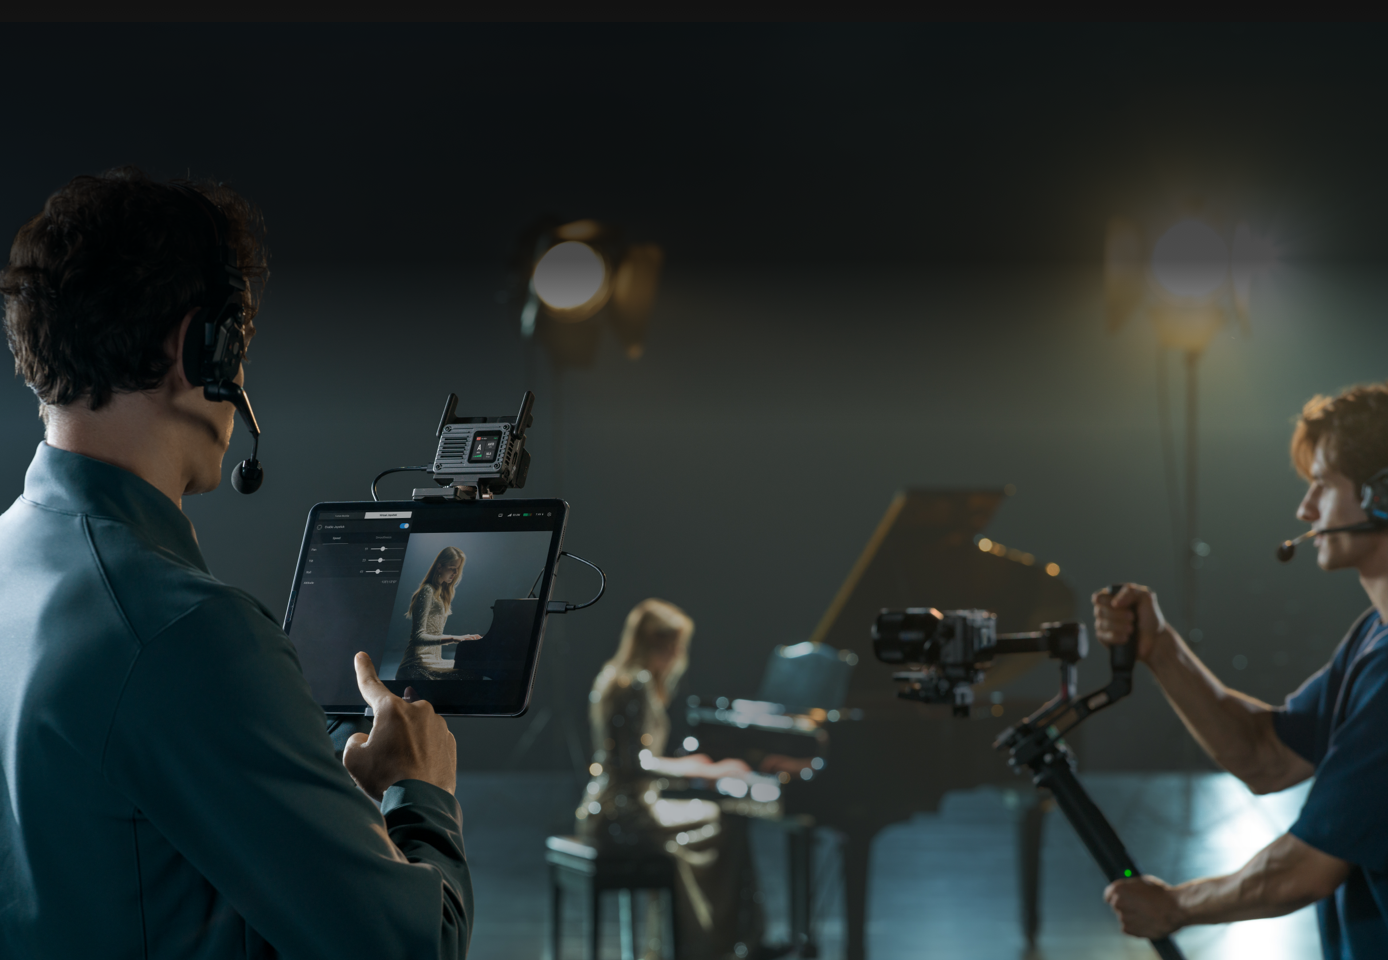
Gimbal communication does not guarantee every camera-control function. DJI says supported controls vary by camera and configuration. A compatible Multi-Camera Control Cable may also be required between the gimbal and camera for remote camera settings or recording control.
Use the RX and DJI Ronin app when a production monitor is unnecessary
A compatible phone or tablet can become the viewing device. Connect it to the RX USB/DP port with a USB-C-to-USB-C or USB-C-to-Lightning data cable, select USB Adaptive on the receiver and open the DJI Ronin app. The cable is not included, and DJI publishes a separate Ronin App Compatibility List for supported mobile devices.
This setup can reduce the amount of dedicated monitor hardware on a small crew, but it does not remove the need for the receiver. It also does not turn the Expansion Plate's USB-C ports into phone-video outputs: DJI's manual says the plate's USB-C port does not output the camera view. Use the main transceiver's USB/DP port for the mobile monitoring connection.
Power note: the receiver may charge some phones slowly, but DJI says tablets and certain phones may only drain more slowly rather than charge effectively. Plan the mobile device's own power for a long shoot.
The Expansion Plate adds SDI, not 4K SDI
The SDR Transmission 2 main unit has HDMI and DP but no built-in SDI. The C$279 Expansion Accessory Kit adds an Expansion Plate with SDI, HDMI and USB-C connections, plus a protective cage, cold shoe adapter, D-TAP-to-USB-C power cable and hex key. A transceiver is not included with the kit.
On the RX side, the Expansion Plate can output HDMI and SDI simultaneously while the main transceiver supplies either HDMI or DP, for as many as three concurrent video feeds. The main-unit HDMI and DP still cannot run together. On the TX side, only one video input is used at a time.
Important: DJI states that the Expansion Plate does not support 4K input/output. Use the main transceiver's HDMI or DP path for DCI 4K/60 HDR. The plate solves connector and multi-output requirements; it does not turn SDR Transmission 2 into a 4K SDI wireless system.

Find the failed stage instead of resetting the whole system
TX shows No Signal
Confirm the camera is actually outputting through the selected HDMI or DP port and that the resolution and frame rate are supported. Reseat the cable, inspect the port and try a known-good cable. If the setup is on 4K or HDR, test 1080p60 through the main-unit HDMI path as a simpler baseline.
TX and RX are connected, but the monitor is blank
Check the RX home screen. A valid stream should show resolution, frame rate and bitrate. If those values appear, verify the monitor input and accepted format, then test another output cable. If they do not appear, inspect the TX video icon and work backward to the camera source.
4K works over HDMI but not through SDI
This is expected. The Expansion Plate does not support 4K input/output. Use the HDMI or DP port on the main transceiver for the 4K path.
RS 4 Pro does not power or communicate with the TX
Confirm that the setup uses the separately sold USB-C-to-CAN gimbal-control cable, that the labelled end is connected to the TX and that the cable is not reversed. A normal USB-C firmware cable is the RS 5 method, not the RS 4 Pro method.
The phone connects but the Ronin app shows no camera view
Connect the data cable to the RX main unit's USB/DP port, not the power-only USB-C port or an Expansion Plate USB-C port. Select USB Adaptive on the RX and verify that the phone or tablet appears on DJI's current compatibility list.
One transceiver powers on but no wireless link is possible
One unit supplies only one side of the link. Add a second SDR Transmission 2 transceiver, set one to TX and the other to RX, then use Search Devices on the receiver.
Which SDR Transmission 2 setup should you buy?
SpeedyDrone listed the three Canadian configurations below when checked September 18, 2026. All three pages displayed backorder notices, so confirm the current lead time before committing the hardware to a production date. Prices are shown before tax and can change.

DJI SDR Transmission 2
C$479
Add one RX to an existing system, replace a unit or build a flexible spare. One unit cannot complete both sides of a new wireless link.
Backorder notice shown when checked September 18, 2026.
View DJI SDR Transmission 2 at SpeedyDrone →
DJI SDR Transmission 2 Combo
C$849
Start a new camera-to-monitor link with two switchable transceivers. Add operating batteries, the required video cables and a display.
Backorder notice shown when checked September 18, 2026.
View the SDR Transmission 2 Combo at SpeedyDrone →
Expansion Accessory Kit
C$279
Add SDI, a second HDMI output and a protective cage. The kit does not include a transceiver and its plate does not support 4K I/O.
Backorder notice shown when checked September 18, 2026.
View the Expansion Accessory Kit at SpeedyDrone →Choose the Combo for a first complete link, a single transceiver for an existing system that needs another viewing position, and the Expansion Accessory Kit only when the connection and mounting benefits justify it. RS 4 Pro, RS 4 and RS 3 Pro users should also budget for the separately sold USB-C-to-CAN gimbal-control cable; SpeedyDrone did not have that cable in the verified three-product collection when checked.
DJI SDR Transmission 2 setup FAQ
Is one DJI SDR Transmission 2 transceiver enough for wireless video?
No. One transceiver can operate as TX or RX, but it cannot perform both roles at once. A complete camera-to-monitor wireless link needs one unit at the camera in TX mode and another at the monitoring position in RX mode. The SpeedyDrone Combo includes two transceivers and is the logical starting package for a new system; the single-transceiver listing is more useful for adding another receiver or replacing a unit in an existing SDR Transmission 2 system.
Does DJI SDR Transmission 2 require pairing?
DJI markets a pairing-free connection, but first-time setup still requires choosing the roles and the device. Move one hardware switch to TX and the other to RX. On the RX touchscreen, select Search Devices, choose the intended TX, and enter its password if Password Lock is enabled. It is more accurate to call this a TX/RX connection step than traditional accessory pairing, but it is not a completely hands-off process.
Can DJI SDR Transmission 2 transmit 4K through SDI?
No. DJI states that DCI 4K/60 HDR requires the HDMI or DP connection on the transceiver main unit. The separately sold Expansion Plate adds SDI input/output, but the plate does not support 4K input/output. If an HDMI or DP workflow produces a 4K feed while the SDI path does not, that is an interface limitation rather than proof that the wireless link is defective.
Can the receiver output HDMI and DP at the same time?
Not from the transceiver alone. The receiver can use its HDMI output or the DP output through the lower USB-C port, but only one of those main-unit outputs at a time. With the Expansion Plate installed, the receiver can output as many as three feeds simultaneously: one main-unit HDMI or DP feed, plus the Expansion Plate's HDMI and SDI feeds. The main-unit HDMI and DP ports still do not operate together.
What cable connects DJI SDR Transmission 2 to DJI RS 5?
Use the included USB-C to USB-C Firmware Update Cable. Connect the TX USB/DP port to the RS 5 Multifunctional port and mount the transmitter on the gimbal's cold shoe. DJI says the gimbal can then power the transmitter and establish communication. This RS 5 connection does not require the separately sold USB-C-to-CAN gimbal-control cable used by RS 4 Pro, RS 4 and RS 3 Pro.
What cable connects SDR Transmission 2 to RS 4 Pro, RS 4 or RS 3 Pro?
Those gimbals require the separately sold DJI SDR Transmission 2 Gimbal Control Cable (USB-C to CAN). Connect the labelled end to the TX, follow DJI's port diagram for the specific gimbal and do not reverse the cable. The ordinary USB-C firmware-update cable used with RS 5 is not a substitute. Once correctly connected, the gimbal supplies power and establishes communication with the transmitter.
Can I use a phone or tablet instead of a monitor?
Yes, with a compatible device and the DJI Ronin app. Connect the phone or tablet to the RX USB/DP port with a suitable USB-C-to-USB-C or USB-C-to-Lightning data cable, choose USB Adaptive on the RX screen, and open the app. The mobile-device cable is not included. DJI also notes that the Expansion Plate's USB-C port does not output the camera view, so connect the mobile device to the transceiver's USB/DP port.
Should I leave Auto Channel 2.0 enabled?
Yes for the first setup. Auto Channel mode is enabled by default and is designed to evaluate the local spectrum, recommend a suitable channel and coordinate multiple nearby SDR Transmission 2 groups. Use Manual mode only when the channel dashboard shows a clear reason, the venue has a frequency plan, or a technician needs to avoid a known conflict. Manual selection is available on the TX or RX touchscreen and through the DJI Ronin app connected to the receiver.
What should I check first when the TX says No Signal?
Start at the camera output. Confirm that its HDMI or DP format is supported, then reseat the cable and try a known-good replacement. DJI lists DCI 4K, UHD 4K and 1080p from 23.98 to 60 fps, plus specified 1080i and 720p rates. If the TX and RX are linked but the monitor remains blank, confirm that the RX shows resolution, frame rate and bitrate, then verify that the monitor accepts the selected output format.
Official setup and compatibility references
DJI SDR Transmission 2 Download Center
User Manual v1.0, Quick Start Guide, camera list, PD adapter list, app compatibility list and channel table, checked September 18, 2026.
DJI SDR Transmission 2 official product and FAQ
TX/RX roles, receiver topology, port-output rules, package contents and official operating caveats.
DJI stabilizer connection guidance
RS 5, RS 4 Pro, RS 4 and RS 3 Pro cable and communication requirements.
DJI channel-setting guidance
Auto Channel 2.0, Channel Dashboard and manual channel selection.
DJI No Signal troubleshooting and monitoring-screen troubleshooting
Supported video formats and the source-to-display diagnostic sequence.
SpeedyDrone DJI SDR Transmission 2 collection
Current Canadian product names, prices, listing images and backorder notices checked September 18, 2026.
Build the signal chain before the shoot day
Choose the two-unit Combo for a new link, add a single transceiver for another viewing position, or add the Expansion Kit when the production actually requires SDI and more outputs.
Compare DJI SDR Transmission 2 configurations


